
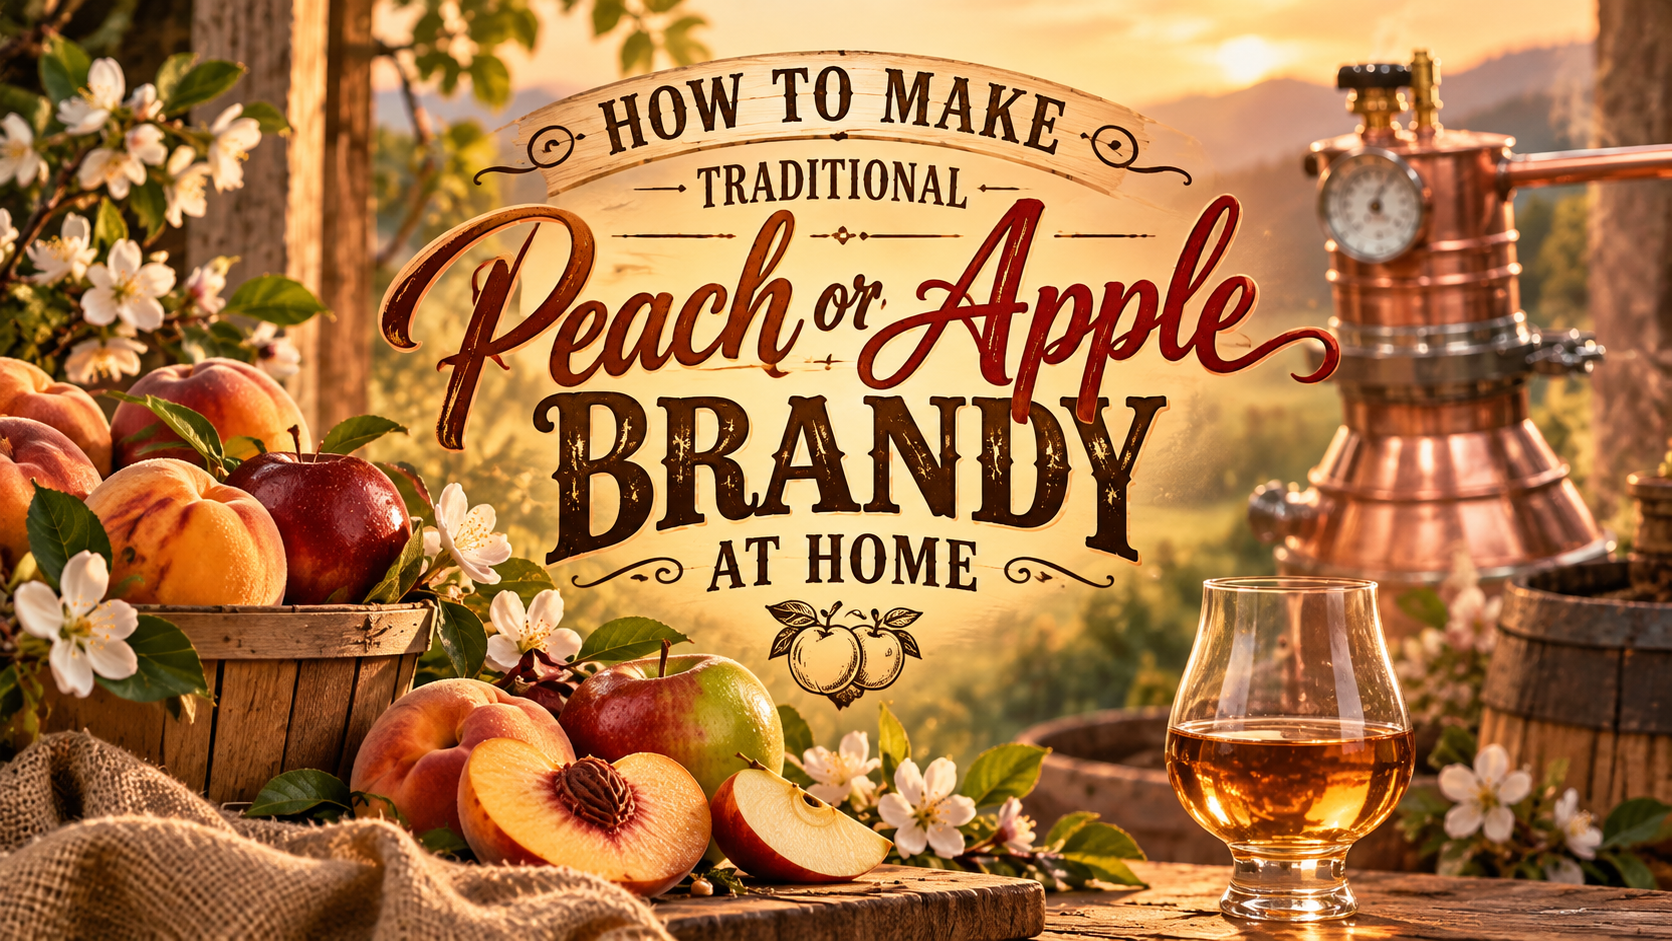
Fruit brandy is one of the oldest and most straightforward styles of spirits to understand.
At its core, you are taking ripe fruit, fermenting its natural sugars into alcohol, and then carefully distilling that fermented fruit wash to concentrate the flavor and aroma.
For a hobby distiller, peach and apple brandy are excellent projects because the ingredients are simple and the process teaches nearly every basic skill you will use later: fermentation, reading a hydrometer, operating a pot still, making cuts, and learning to trust your senses.
A traditional fruit brandy is different from simply adding peach or apple flavor to neutral alcohol. The flavor should originate with the fruit itself.
Before beginning, always check the laws where you live. Regulations concerning alcohol production and distillation vary by location.
Start With Good Fruit
The quality of your finished brandy begins with the fruit.
For peach brandy, use very ripe peaches. Slightly soft fruit is often better than perfectly firm grocery-store fruit because ripe peaches contain more sugar and much stronger aroma. Remove moldy or spoiled portions. It is also a good idea to remove the pits before fermentation.
For apple brandy, ripe aromatic apples are ideal. A mixture of sweet and tart apples can produce a more interesting brandy than using only one variety.
You do not need beautiful fruit. Bruised or cosmetically imperfect fruit can work well as long as it is free of mold or rot.
Preparing the Fruit
Peach Brandy
Wash the peaches, remove the pits and crush or mash the fruit.
You are trying to create something like a chunky fruit puree. There is no need to turn it completely into juice.
Peach brandy can be fermented directly on the fruit pulp. The skins and flesh contain much of the fruit’s aroma.
Place the crushed peaches into a sanitized fermentation bucket, leaving plenty of room at the top because fruit fermentation can foam considerably.
Apple Brandy
Apples are normally crushed and pressed to produce cider.
For a beginner, fermenting apple juice or fresh cider is usually easier than fermenting a thick apple mash.
Avoid juice containing preservatives such as potassium sorbate or sodium benzoate because they can prevent yeast from fermenting properly.
If you have access to a fruit crusher and press, freshly pressed apple cider makes an excellent starting point.
Do You Need to Add Sugar?
Not necessarily.
Traditional fruit brandy gets most or all its alcohol from the natural sugar contained in the fruit.
Adding large quantities of sugar increases alcohol yield, but it can also dilute the character of the fruit. Instead of tasting strongly like peaches or apples, the finished spirit can begin tasting more like a sugar wash with fruit added.
A hydrometer is useful here.
Take a gravity reading before fermentation. This gives you an idea of how much fermentable sugar is present.
If the fruit is especially low in sugar, a small amount of added sugar can increase your yield. Just remember that if your goal is a traditional fruit brandy, fruit should remain the star of the show.
Add Yeast and Nutrients
Fruit contains sugar, but yeast also needs nutrients to ferment properly.
A good wine, cider or distiller’s yeast works well for fruit brandy. We suggest LALVIN yeast strands.
Adding a small amount of yeast nutrient can help prevent slow or stressed fermentations.
Once your fruit or juice is prepared:
- Place it in a sanitized fermenter.
- Check the starting gravity if you are using a hydrometer.
- Add yeast nutrient if desired.
- Pitch your yeast.
- Install an airlock.
- Allow fermentation to begin.
The fermentation should normally become visibly active within roughly a day or two, depending on yeast, temperature and the condition of the fruit.
Let the Fruit Ferment Completely
Do not rush this part.
The yeast needs time to convert fruit sugars into alcohol.
During active fermentation you may see bubbling, foam and movement inside the fermenter. Eventually that activity will slow dramatically.
A hydrometer is the best way to determine whether fermentation is finished.
Take a gravity reading and then another reading a day or two later. If the reading remains unchanged, fermentation is most likely completed.
Taste the fermented liquid as well. It should no longer taste noticeably sweet.
A finished peach mash might smell surprisingly funky compared with fresh peaches. That is normal. Fermentation creates many compounds that will change again during distillation.
Getting the Fermented Fruit Ready for the Still
Before filling your still, separate as much heavy fruit material as practical.
Large amounts of pulp can scorch against the bottom of a directly heated still and produce unpleasant burnt flavors.
Apple cider is usually easy because most solids have already been removed during pressing.
Peach mash may require straining through a brew bag or similar coarse filter.
You do not have to make the liquid perfectly clear. You simply want to remove most of the thick solids.
Distilling the Brandy
A traditional copper pot still is an excellent choice for fruit brandy because pot stills allow more fruit character to carry into the finished spirit.
A North Georgia Still Company copper still can be used in the same basic manner as other pot-style stills. Fermented liquid goes into the boiler, heat creates alcohol-rich vapor, the thumper can be added to increase the natural peach or apple flavor by adding fresh fruit to the thumper, and the condenser cools it back into liquid.
Copper is especially useful in flavorful spirits because it can help reduce certain unwanted sulfur compounds created during fermentation.
Never operate a still unattended and keep open flames and ignition sources away from alcohol vapor.
The First Run: The Stripping Run
Many distillers use two distillations when making brandy.
The first is called a stripping run.
The purpose of this run is not to create your finished brandy. You are simply concentrating the alcohol from the fermented fruit into a smaller volume called low wines.
Run the still at a reasonable pace and collect the output.
When the alcohol coming from the still becomes very weak, the stripping run is complete.
The low wines can then be stored until you have enough for your second run.
The Second Run: The Spirit Run
The second distillation is where the real craftsmanship begins.
This is called the spirit run.
Run the still considerably slower than during the stripping run and collect the distillate in several small containers rather than one large container. Introducing a thumper to your spirit run can really improve your natural fruit flavor of the Brandy. We suggest adding your fresh fruit to the thumper after your heads cut. That way all the natural flavor from the fruit will infuse in the hearts, the part of the run you will collect to temper down and drink.
This allows you to separate the run into:
Heads → Hearts → Tails
These sections are commonly called cuts.
Understanding Heads, Hearts and Tails
Heads
The early portion of the run often smells sharp, solvent-like or chemically aggressive.
You may notice aromas like nail polish remover, paint thinner or strong glue.
Those are signs that you are still in the heads portion of the run.
Hearts
As the run progresses, the harsh chemical character begins disappearing.
This is where peach or apple aromas should become much more pleasant.
The spirit becomes smoother, sweeter and cleaner.
This section is the hearts, and it is usually the portion you will keep for drinking or aging.
Tails
Later in the run the character changes again.
The spirit may begin tasting heavy, oily, earthy or slightly bitter. Some people describe tails as smelling like wet cardboard or damp grain.
At this point you are moving out of your hearts.
Some late hearts and early tails can add complexity to brandy, so exactly where you make your cut is a matter of personal taste.
That is part of what makes distilling interesting.
Temperature and Proof Are Guides — Not Rules
Beginners often want an exact thermometer reading that tells them:
“Make the cut here.”
Unfortunately, distilling does not work quite that neatly.
Temperature can tell you what is happening inside the still, and the proof coming from the condenser can help show how the run is progressing.
But neither should determine your cuts by itself.
Your best tools are still:
Your nose. Your tongue. Your fingers.
Smell the spirit.
Taste a properly diluted sample.
Rub a drop between your fingers and notice how the texture changes.
Every still behaves slightly differently, every fermentation is different and every person’s senses are a little different.
That means two distillers using the exact same peaches can produce two noticeably different peach brandies.
That is one of the best parts of the hobby.
The Small-Jar Trick for Beginners
One of the easiest ways to learn cuts is to collect your spirit run in a row of small glass jars.
Number them as you go.
Instead of trying to decide immediately whether something is heads, hearts or tails, simply keep collecting.
After the run is finished, cover the jars loosely and allow them to rest for several hours or overnight.
Then smell and taste through them in order.
You will often notice the transition clearly:
harsh → fruity and clean → heavy and oily
Once you identify your favorite section, combine those jars.
That becomes your hearts cut.
Save notes from each run. After several batches you will begin to recognize the transitions much faster.
Let the Brandy Rest
Freshly distilled spirits can taste surprisingly aggressive.
Diluting the hearts to your desired drinking strength and allowing the brandy to rest can dramatically improve it.
Even a couple of weeks can allow flavors to integrate.
You can drink fruit brandy clear, or you can age it on oak.
Aging Peach or Apple Brandy
Oak can add:
vanilla, caramel, toasted sugar, spice, wood and deeper color.
Apple brandy traditionally works especially well with oak.
Peach brandy can also be aged, although lighter oak treatment often helps preserve more delicate peach aroma.
Small oak barrels, toasted oak chips or infusion spirals are all options for hobby-scale batches.
Check the spirit frequently.
Small quantities of oak can extract flavor much faster than a full-size commercial barrel.
Once the oak flavor reaches the point you like, remove the spirit from the wood.
Peach vs. Apple: What Should You Expect?
Peach brandy tends to be more floral and aromatic. A well-made batch can smell strongly of ripe peaches even though no flavoring has been added.
Apple brandy is often slightly richer and more structured. Depending on the apples used, you may notice cider, baked apple, spice and caramel-like flavors.
Oak aging can push apple brandy toward the character associated with traditional aged apple spirits, while clear peach brandy often showcases the fruit most directly.
The Most Important Ingredient Is Practice
Your first fruit brandy probably will not be your best fruit brandy.
And that is perfectly normal.
The biggest improvements usually come from learning fermentation and learning where you prefer to make your cuts.
Keep notes.
Change one thing at a time.
Try different apple varieties. Try extremely ripe peaches. Experiment with different yeasts and slightly different cuts.
Before long, you will begin recognizing exactly what your still is telling you.
That is when distilling stops feeling like following instructions and starts becoming a craft.
And there may be no better way to learn that craft than taking a pile of ripe Georgia peaches or fresh apples, fermenting them yourself, and watching your own copper still turn them into a spirit that couldn’t have come from anyone else’s still.
Always follow applicable federal, state, and local laws concerning the production of distilled spirits. In the United States, producing distilled spirits for beverage purposes generally requires appropriate federal authorization and may also be subject to state and local requirements.