Getting interested in distilling can become overwhelming quickly.
Spend a few minutes online and you’ll find columns, thumpers, proofing parrots, pumps, sight glasses, specialty fermenters, dozens of measuring tools, and enough accessories to fill an entire shop.
The good news?
You don’t need all of that to start learning.
At its core, distilling is a fairly simple process.
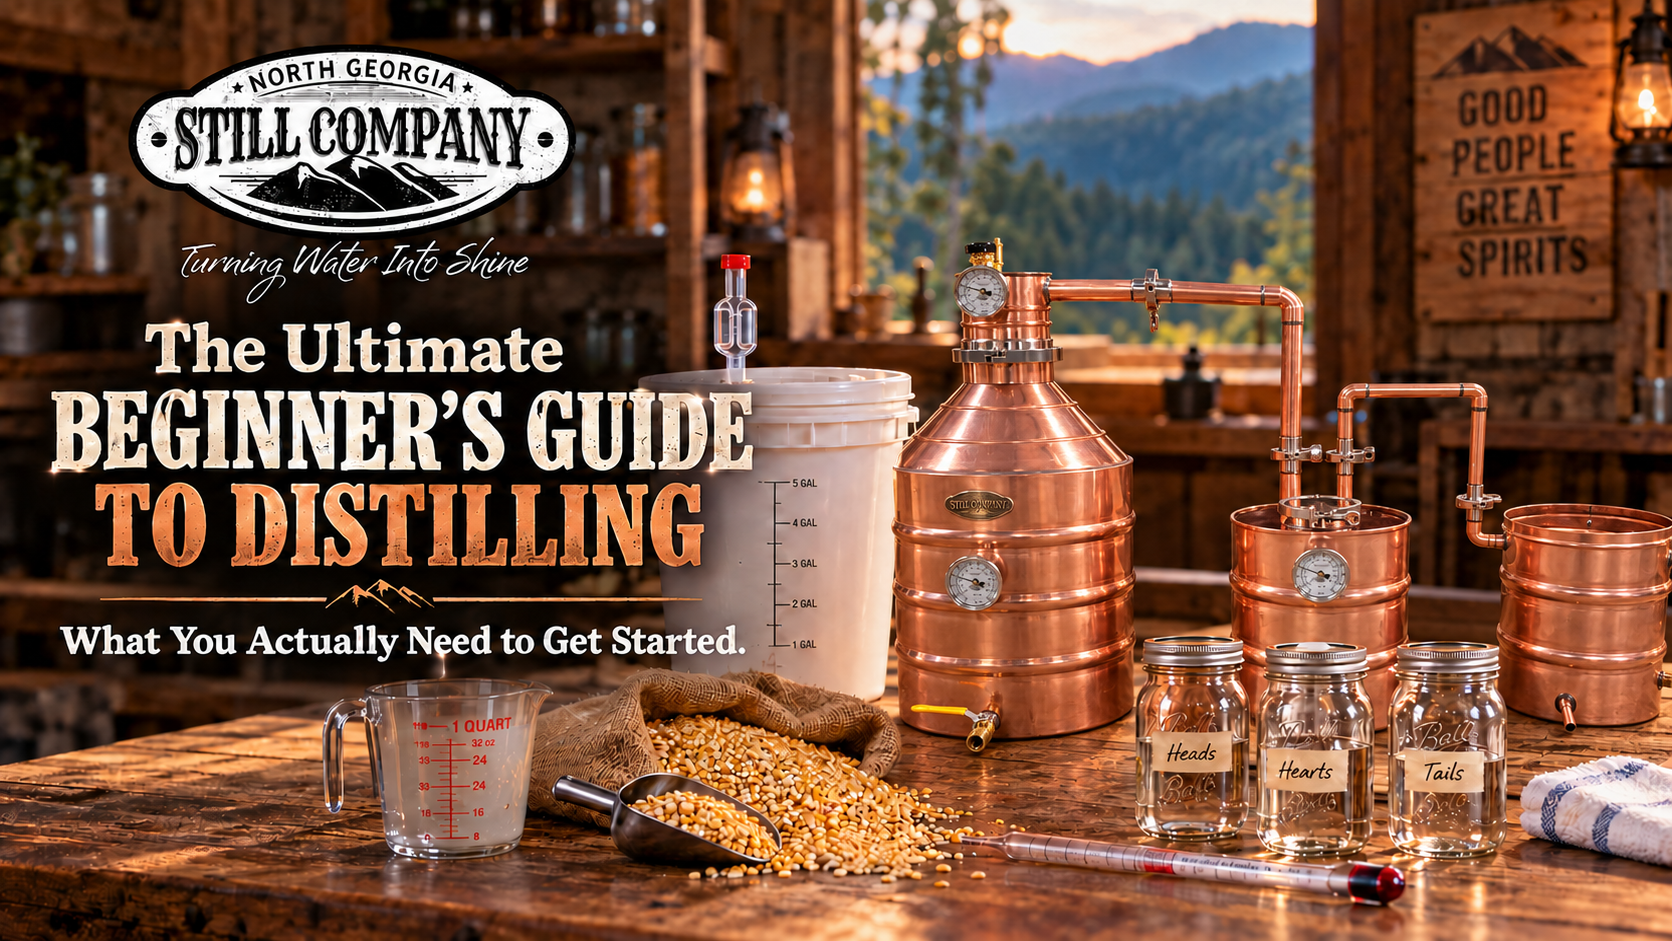
A good beginner needs a basic set of equipment, an understanding of fermentation, and enough patience to learn how their still works.
Here are the essentials.
The Bare Minimum Equipment
-
A Fermentation Vessel
Before you can distill anything, you first need something fermented.
A basic food-safe fermenter with enough room for your mash or wash is all you really need to begin. It should have a lid and preferably an airlock so fermentation can proceed while limiting unwanted contamination.
You’ll also need basic ingredients appropriate for whatever you’re fermenting, including yeast.
-
A Still
Your still is obviously the heart of the process.
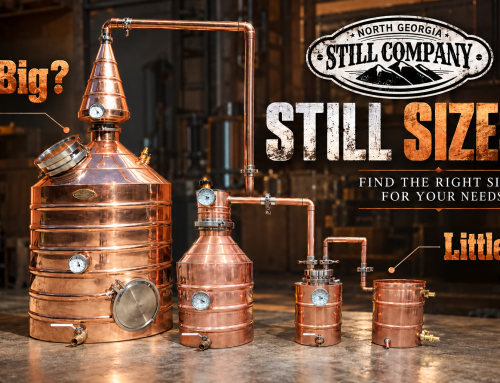
For most beginners, we like the 10- to 20-gallon range because it provides room to grow without requiring you to make full-size runs from the beginning.
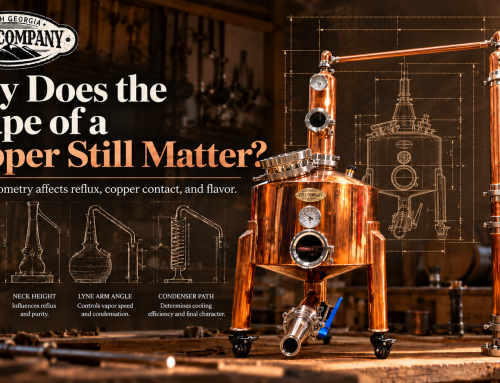
A basic pot still is also a great way to learn because it allows you to experience how a distillation run changes from beginning to end.
The system needs a properly sized condenser and a reliable source of cooling water.
-
A Safe Heat Source
You’ll need a way to heat the boiler consistently and safely.
Whatever heating method you choose should be appropriate for your equipment and give you enough control to make adjustments during the run.
Control matters more than simply having a lot of power.
-
A Few Collection Containers
You don’t need anything fancy.
Several small glass jars or other appropriate containers allow you to collect the distillate in separate portions.
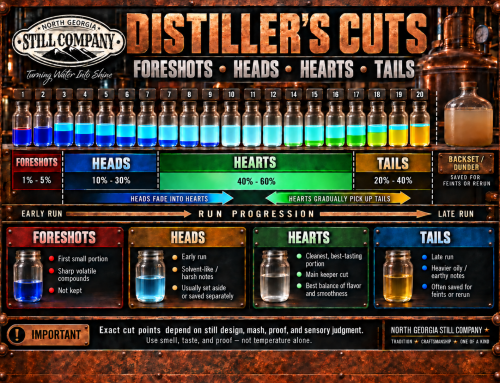
In fact, beginners are usually better off collecting in multiple smaller containers rather than one large container because it makes learning the different portions of the run much easier. We recommend using 1 pint mason jars. Number them 1 through the last jar and keep them sequentially in order. This will help you learn to make appropriate cuts between the heads, hearts, and tails of the distillation run. Your sense of smell and taste will be your guide to determine where you are in your distillation run.
-
Basic Measuring Equipment
A beer wine hydrometer, sometimes referred to as a triple scale hydrometer and alcoholmeter are two inexpensive tools worth having.
A beer wine hydrometer, helps you understand what’s happening during fermentation.
An alcoholmeter helps measure the strength of distilled spirits under the conditions for which the instrument is designed.
Neither tool replaces experience, but both give you useful information while you’re learning.
The Three Things Every Beginner Should Learn
Buying the equipment is actually the easy part.
Learning these three things will have a much bigger impact on your results.
-
Learn Fermentation First
A still cannot fix a bad fermentation.
If the wash or mash going into the boiler is poor quality, the still can only do so much with it.
Learn the basics of:
- Yeast
- Fermentation temperature
- Specific gravity
- Sanitation
- Nutrients
- When fermentation is actually finished
Good distilling starts before the still is ever turned on.
The better your fermentation becomes, the better foundation you have for everything that follows.
-
Learn Heads, Hearts, and Tails
This is probably the most important skill a new distiller develops.
As a run progresses, the character of the distillate changes.
Distillers commonly separate these portions into heads, hearts, and tails.
You can’t learn this entirely from a chart.
You learn it by collecting your run in smaller containers and comparing them.
Smell them.
Compare them.
Notice how the aroma and character change throughout the run.
Over time, you’ll begin recognizing those transitions much more naturally.
This is also one reason we often recommend a slightly larger still for beginners. A 10-, 15-, or 20-gallon system can give you more volume to separate and compare, which can make learning cuts easier than working with an extremely small batch.
-
Learn Your Still
Two stills can behave differently even when they’re similar in size.
Learn how your equipment responds.
Pay attention to:
- How quickly it heats
- How changes in heat affect output
- How much cooling water your condenser requires
- How quickly the run progresses
- How the aroma changes throughout the run
- Where your still seems to settle when running well
Don’t spend your first few runs chasing perfection.
Spend them learning.
The more familiar you become with your equipment, the easier it becomes to recognize when something is changing—and why.
Don’t Buy Everything at Once
One of the easiest mistakes for beginners is believing they need every available accessory before they can start learning.
You don’t.
Start with a good fermentation setup.
Buy a quality still that’s large enough to grow into.
Get a few basic measuring tools.
Then learn how to use what you have.
Once you understand the process, you’ll have a much better idea which accessories will make your setup better.
Start Simple. Learn the Process. Grow From There.
Distilling can become incredibly technical if you want it to.
But it doesn’t have to begin that way.
A beginner really needs three things:
Good fermentation.
An understanding of heads, hearts, and tails.
Time spent learning their equipment.
Everything else can come later.
At North Georgia Still Company, we believe the best first still isn’t necessarily the smallest one available. It’s a still that’s simple enough to learn on, well built, and large enough that you won’t immediately outgrow it.
Start simple.
Pay attention.
Take notes.
And enjoy learning the craft.
Always follow applicable federal, state, and local laws concerning the ownership and use of distilling equipment and the production of distilled spirits.