
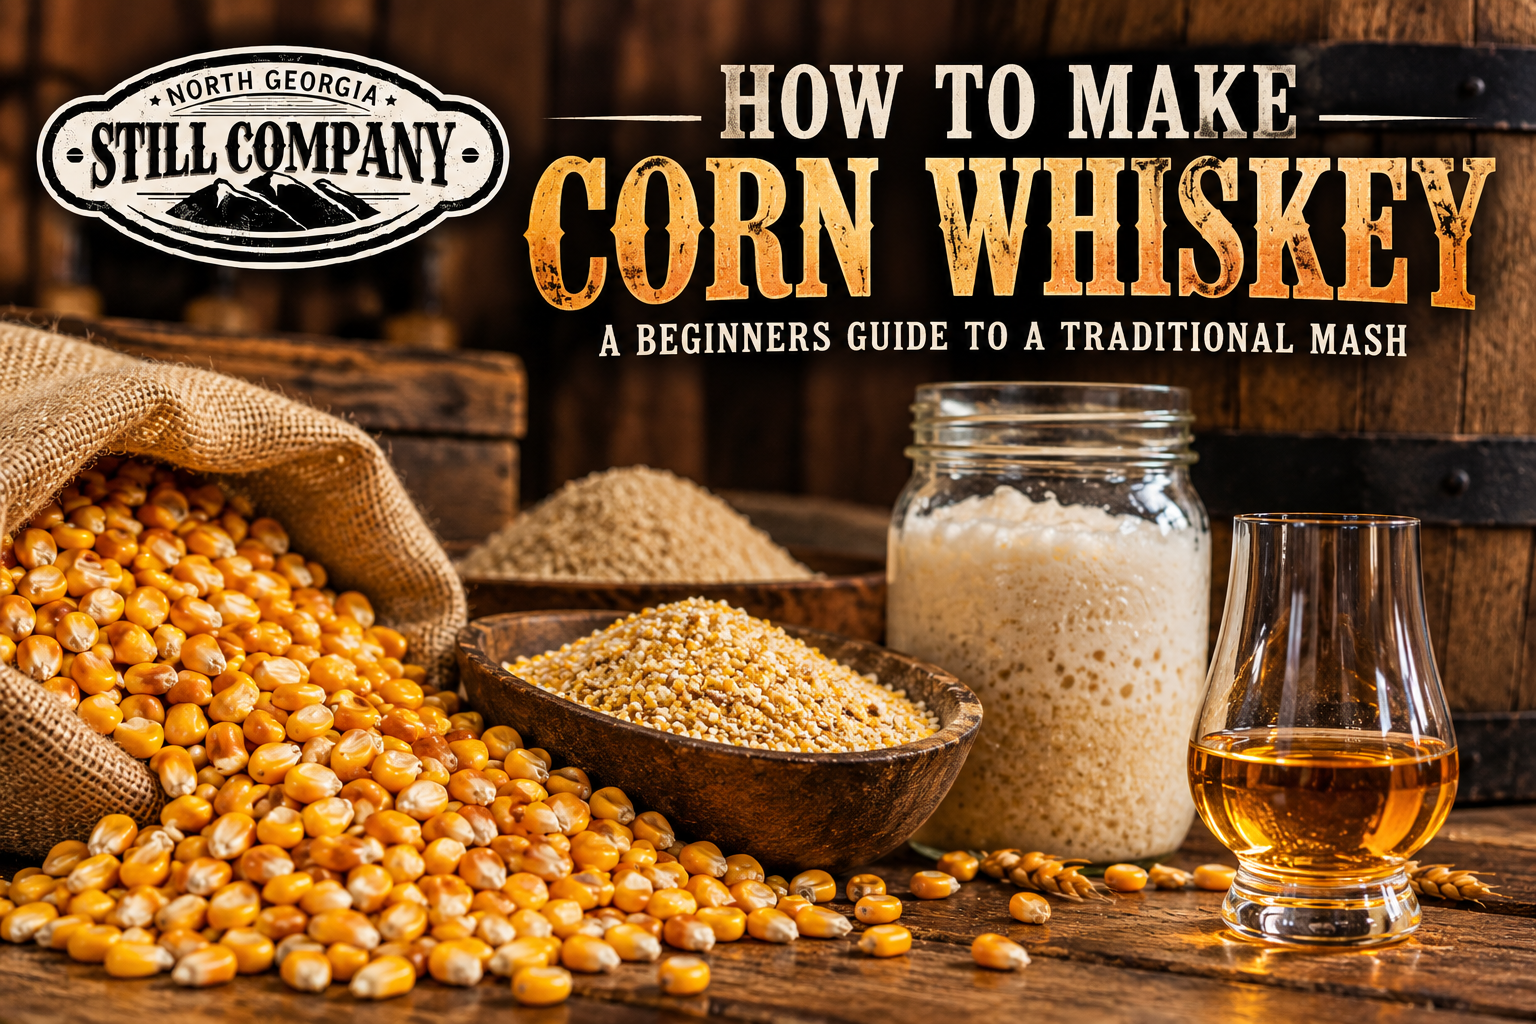
If you’re new to whiskey making, a traditional corn mash is one of the best places to start.
The ingredients are simple.
The process is old.
And when it’s done correctly, corn creates the sweet, rich foundation that defines many traditional American whiskeys.
But making a good corn mash isn’t quite as simple as mixing corn, sugar, yeast, and water together.
If you want to learn the traditional process, the most important thing to understand is this:
Yeast can’t ferment starch. It needs sugar.
Most of the potential alcohol inside corn begins as starch. Your job during the mash is to make that starch available and convert it into fermentable sugars before the yeast ever enters the picture.
Once you understand that, the entire process starts making much more sense.
What Is a Traditional Corn Whiskey Mash?
At its simplest, a grain whiskey mash contains:
Corn + other grains + water + enzymes + yeast
Corn provides much of the flavor and starch.
Traditionally, malted barley was often included because the malting process develops enzymes capable of converting grain starches into fermentable sugars.
Modern distillers can also use commercial enzymes, but learning to mash with malted grain is a great way to understand the traditional process.
A simple beginner mash bill might look something like:
- 80% corn
- 10% malted barley
- 10% rye or wheat
You don’t have to start with a complicated recipe.
In fact, when you’re learning, simpler is usually better.
Corn provides sweetness and body.
Rye can add spice.
Wheat generally contributes to a softer character.
Malted barley provides flavor and, importantly, enzymes that can help convert starch.
Step 1: Choose the Right Corn
For a traditional mash, cracked or milled field corn is a common starting point.
You want the grain broken open so water and heat can reach the starch inside.
Whole kernels are much harder to work with efficiently.
The finer the corn is milled, the easier it can be to access the starch—but extremely fine corn can also create a thick mash that is difficult to stir and handle.
For a beginner, cracked or moderately milled corn is a good compromise.
Another option is flaked corn.
Flaked corn has already been processed in a way that makes its starch much easier to work with, which can simplify the process considerably.
If your goal is learning traditional grain mashing, though, starting with cracked corn will teach you much more about what is happening.
Step 2: Heat the Water
Corn starch needs heat.
Unlike malted barley, corn generally requires relatively high temperatures to properly gelatinize its starches.
Gelatinization basically means the starch granules absorb water, swell, and become accessible so enzymes can later break them apart.
Heat your mash water to approximately 195-210°F before gradually adding your corn.
Don’t dump all the grain in at once.
Add it slowly while stirring continuously.
Corn thickens quickly, and if you’re not stirring well, it can clump together or scorch.
Once the corn is thoroughly mixed, maintain enough heat to allow the grain to fully hydrate and gelatinize.
You’ll notice the mash become considerably thicker.
That’s normal.
At this stage, you’re not fermenting anything.
You’re preparing the starch so it can be converted into sugar.
Step 3: Let the Mash Cool Before Adding Malt
This is one of the most important steps.
The enzymes in malted barley are sensitive to temperature.
If you add your malt while the mash is still near boiling temperature, you can destroy the enzymes you’re depending on for conversion.
Let the corn mash cool into roughly the 145–155°F range before adding your crushed malted barley.
Then stir it thoroughly.
Something interesting will often happen.
That thick corn mash may begin getting noticeably thinner.
That’s a good sign.
The enzymes are breaking long starch molecules into smaller sugars, reducing the mash’s viscosity in the process.
Step 4: Give the Enzymes Time to Work
Don’t rush conversion.
Once your malt has been incorporated, try to keep the mash within an enzyme-friendly temperature range for a period.
Around 150°F is a good general target for a beginner.
Give the mash approximately 60–90 minutes for conversion while stirring occasionally.
You aren’t trying to hold the temperature with laboratory precision.
You’re simply trying to give the enzymes enough time in an appropriate environment to do their work.
During this stage, starch is being converted into fermentable and partially fermentable sugars.
Those sugars are what your yeast will eventually consume.
What About Commercial Enzymes?
Commercial enzymes can make corn mashing considerably easier.
Many modern hobby and commercial distillers use enzymes such as high temperature alpha-amylase and glucoamylase to improve conversion.
Alpha-amylase helps break large starch molecules into smaller carbohydrates.
Glucoamylase continues breaking those carbohydrates down into simpler sugars that yeast can ferment.
Using enzymes isn’t necessarily less legitimate or less skillful.
It’s simply a modern tool.
For someone learning the craft, however, understanding how malted grain performs the same basic job is valuable—even if you eventually choose to use commercial enzymes for consistency.
Always follow the manufacturer’s recommended temperature, dosage, and pH range when using an enzyme product.
Step 5: Cool the Mash Before Adding Yeast
Once conversion is complete, the mash needs to cool significantly.
Never pitch yeast into a mash that’s still extremely hot.
Yeast are living organisms, and excessive heat can damage or kill them.
For many common distilling yeasts, pitching somewhere around the 75–90°F range is reasonable, but always check the recommended temperature range for the specific yeast you’re using.
The mash should also be placed into a clean fermentation vessel with enough headspace for active fermentation.
Corn fermentations can get lively.
Give them room.
Step 6: Check Your Starting Gravity
Before adding yeast, take a hydrometer reading using a triple scale/ beer wine hydrometer.
This is your original gravity, or starting gravity.
It’s one of the most useful pieces of information you’ll collect.
It gives you an idea of how much fermentable material is dissolved in the mash and allows you to compare the starting gravity with your final gravity after fermentation.
Write it down.
One of the best habits a new distiller can develop is keeping notes for every batch.
Record:
- Mash bill
- Amount of water
- Mash temperatures
- Conversion time
- Starting gravity
- Yeast used
- Fermentation temperature
- Final gravity
- Anything unusual
After a few batches, those notes become incredibly valuable.
Step 7: Pitch Healthy Yeast
Once the mash is cool enough, add your yeast according to the manufacturer’s directions.
You don’t need the most exotic yeast on the market.
A reliable whiskey or distilling yeast is a great place to begin.
The bigger priorities are:
Healthy yeast
Proper temperature
Adequate nutrients
Good fermentation conditions
You can have the best grain recipe imaginable, but stressed yeast can still produce a poor fermentation.
Treat fermentation as an important part of whiskey making—not merely the waiting period before distillation.
Step 8: Control Fermentation Temperature
After fermentation begins, keep an eye on temperature.
Remember that active fermentation produces heat.
The liquid inside your fermenter can be warmer than the room around it.
Too cold and the yeast may become sluggish.
Too hot and you can stress the yeast and change the flavor compounds being produced.
Follow the preferred temperature range for your yeast strain rather than assuming one temperature works for everything.
Step 9: Don’t Judge Fermentation by Bubbles
Beginners often stare at the air lock waiting for it to stop bubbling.
Airlock activity is useful to observe, but it isn’t the best way to determine whether fermentation is finished.
Use your beer/ wine hydrometer.
Take a gravity reading.
Then take another reading later.
When gravity remains stable and is near the expected finishing range (1.000) for your recipe and yeast, you have much better evidence that fermentation has finished.
Fermentation time can vary considerably depending on:
- Yeast
- Temperature
- Starting gravity
- Grain composition
- Nutrient levels
- Mash pH
Don’t rush it simply because a recipe online said fermentation should take exactly a certain number of days.
Let the mash tell you when it’s finished.
Should You Ferment On the Grain?
This is largely a matter of process and preference.
Some traditional whiskey makers ferment the mash on the grain, meaning the corn and other grains remain in the fermenter.
Others separate the liquid from the grain before fermentation.
Fermenting on the grain can contribute additional grain character and is common in whiskey production.
But it can also make handling the mash more difficult.
For a beginner, either approach can work.
Just remember that if you’re eventually moving a thick, grain-heavy mash into equipment, you need to understand how that equipment is designed to handle solids.
Don’t Add Sugar Just Because You Can
A lot of beginner “corn whiskey” recipes online are really sugar washes with corn added for flavor.
They can ferment.
But that’s different from learning how to make whiskey from the starch contained in grain.
If your goal is learning traditional grain whiskey production, focus on getting your fermentable sugars from your grain.
Learning gelatinization and starch conversion takes more work than dumping table sugar into a fermenter.
But it also teaches you one of the fundamental skills of whiskey making.
And in our opinion, that’s worth learning.
Three Things That Will Improve Your Mash More Than a Fancy Recipe
You can spend years experimenting with mash bills.
But for a new hobby distiller, we’d concentrate on three things first.
-
Hit Your Temperatures
Corn needs sufficient heat for gelatinization.
Malted grain needs lower temperatures, so its enzymes remain active.
Yeast needs the mash to cool further before fermentation.
Those temperature changes aren’t arbitrary.
Each stage has a purpose.
-
Give Conversion Enough Time
Don’t rush from hot corn directly into fermentation.
The yeast can only ferment the sugars that are available to it.
Good starch conversion gives fermentation a better foundation.
-
Take Gravity Readings
Measure your starting gravity.
Measure your finishing gravity.
Write them down.
That one habit will teach you more about what’s happening inside your fermenter than watching bubbles ever will.
A Great Corn Whiskey Starts Before the Still
It’s easy to obsess over the still itself.
Copper.
Thumpers.
Lyne arms.
Condensers.
Heat control.
Cuts.
All those things matter.
But by the time your mash reaches the still, many of the decisions affecting the final product have already been made.
The grain you selected matters.
Your mash temperatures matter.
Conversion matters.
Yeast health matters.
Fermentation temperature matters.
A beautiful copper still can’t turn a poorly made mash into an exceptional one.
Great whiskey starts with great fermentation.
For your first few batches, don’t worry about creating the greatest corn whiskey recipe ever made.
Learn how the grain behaves.
Learn your temperature.
Learn conversion.
Learn your yeast.
Take notes.
Then change one thing at a time.
That’s how you stop following somebody else’s recipe and start understanding the craft for yourself.
Always follow applicable federal, state, and local laws concerning the production of distilled spirits. In the United States, producing distilled spirits for beverage purposes generally requires appropriate federal authorization and may also be subject to state and local requirements.